|
|

 November 2005 Activity Log November 2005 Activity Log 
11/23/05
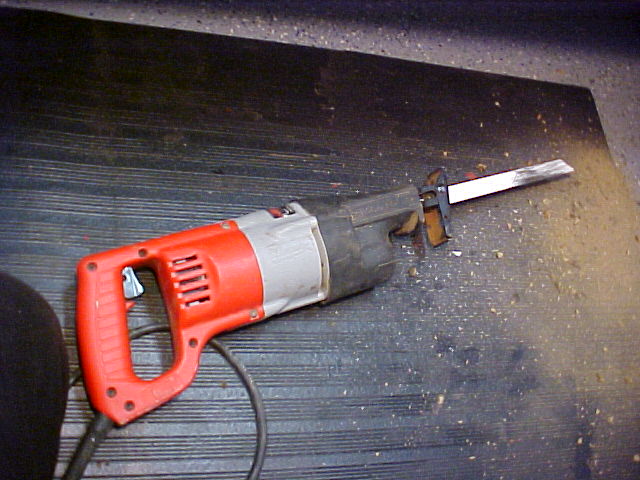  
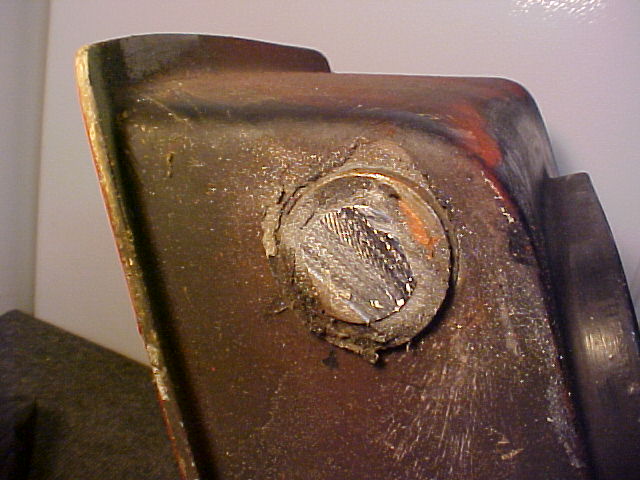
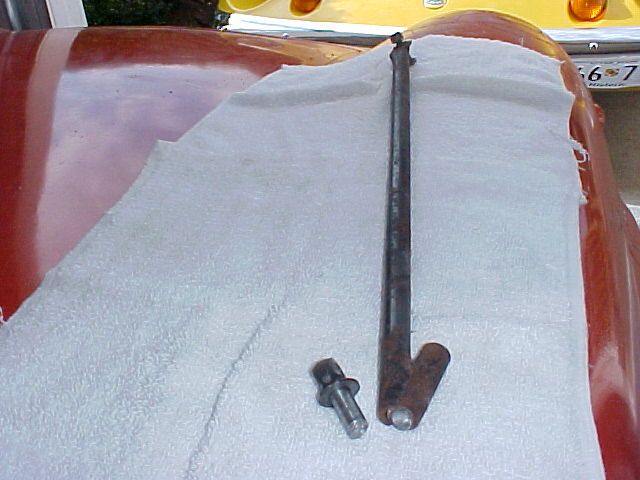
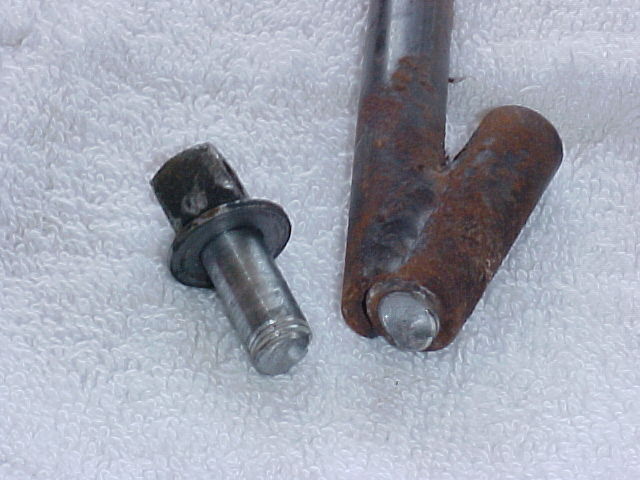
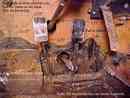
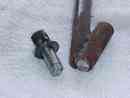
S1A - Got out my trusty Sawzall and a new 9" metal cutting bade and removed the right (passenger) door. Cut the door hinge pin at the top and bottom while supporting the latch end with a large box I had on hand.
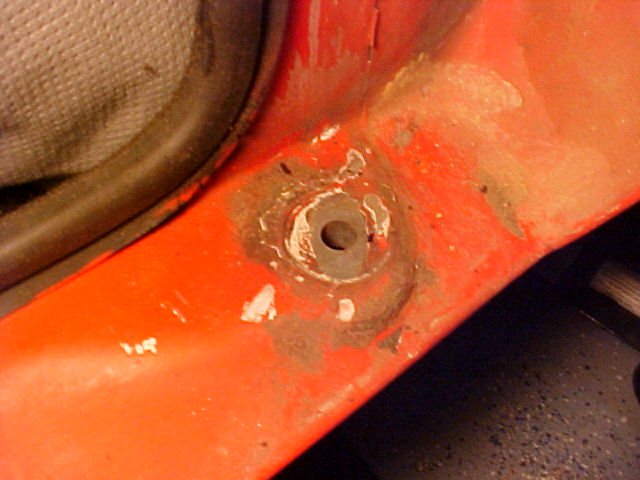 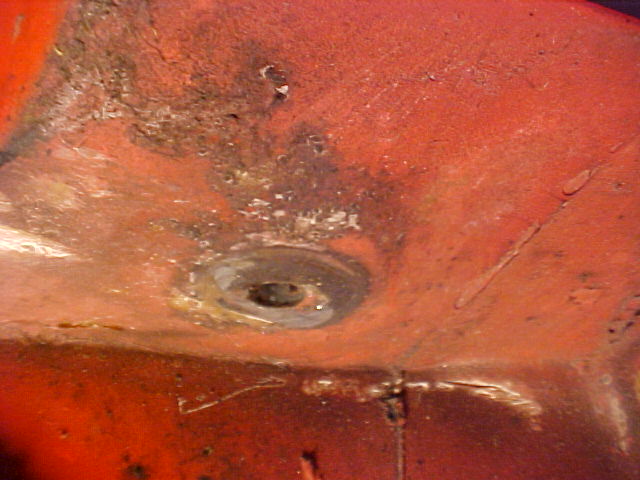
When I tried to remove the piece of bottom pin that remained in the bobbin it fell into the sill of the car so I will have to determine a method to remove it when I remove the frame or I'll have a constant rattle. The piece of the top pin was easily removed by grabbing it with vise grips and working it out.
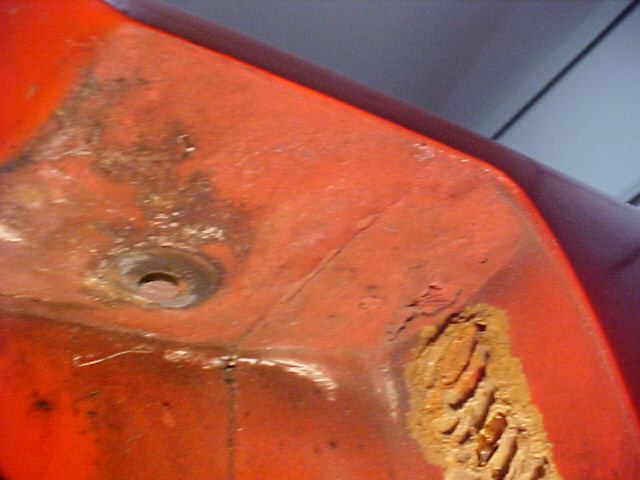
To remove the remaining pin from the door it was necessary to unscrew the nut on the bottom bushing and drive the pin and bushing out the bottom of the door. The top bushing nut was frozen so I ground the outside shoulder off and tapped it out to the inside of the door.
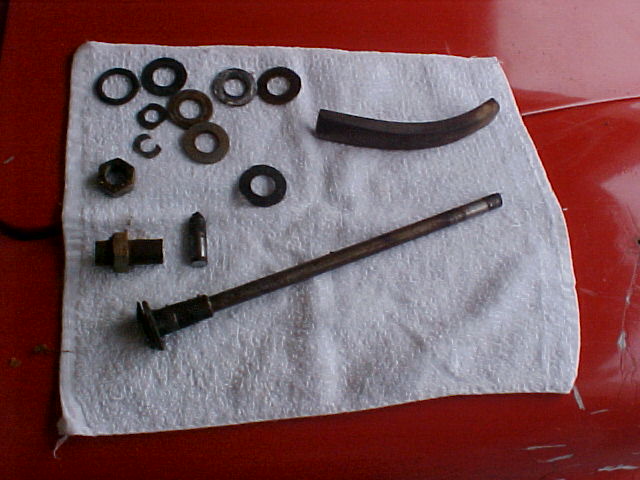
There's not much salvageable from the hinge, but I plan to replace it anyway.
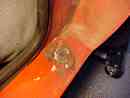
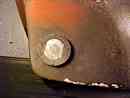
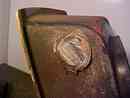
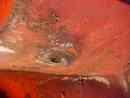
All of the photos I took today are here.
11/17/05
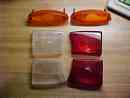 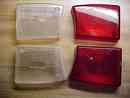 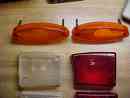 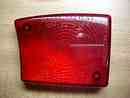 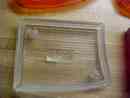
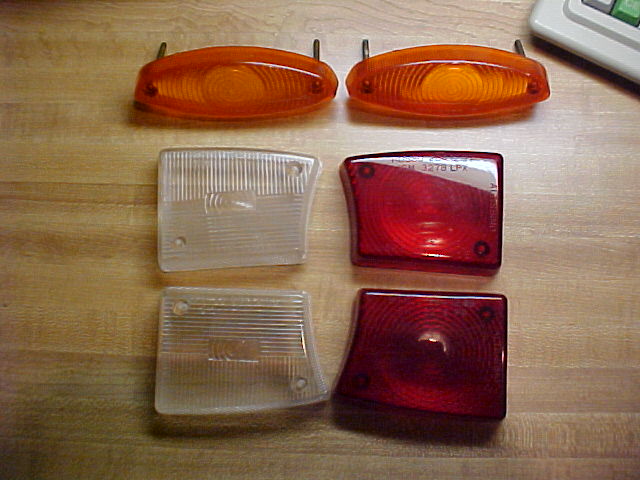
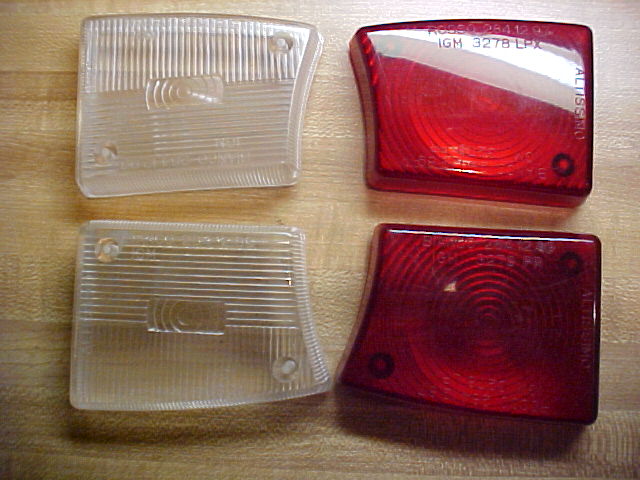
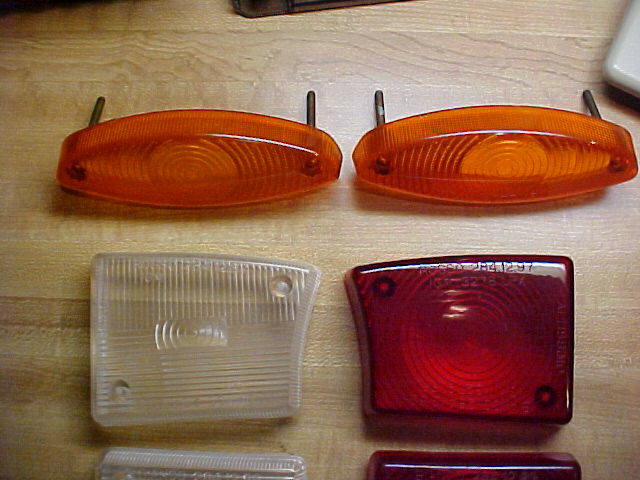
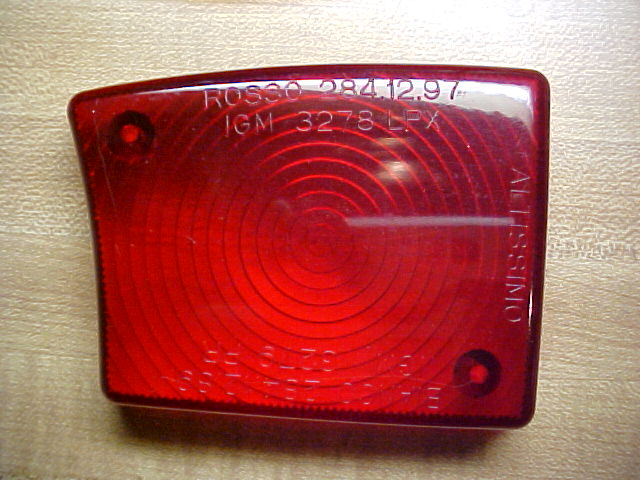
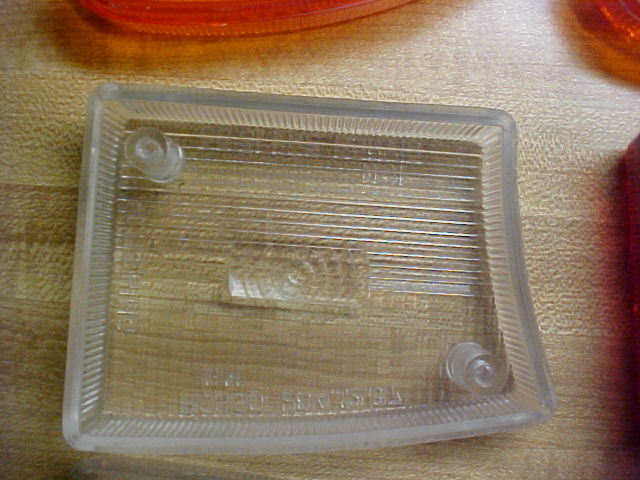
S1A - Today I received the S1 taillight lenses I ordered from Re-Originals. They are Atissimo and are in excellent condition with only a very few slight scratches. Now I have to get the housings re-chromed.
All of the photos I took today are here.
11/16/05
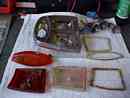 
- Disassembled the left and right taillights. The left one has one broken mounting boss on both the red and white lenses. The right one has a red lens that the PO made from a flat piece of an old lens from some other car and the white lens has one broken mounting boss which I glued together and clamped.
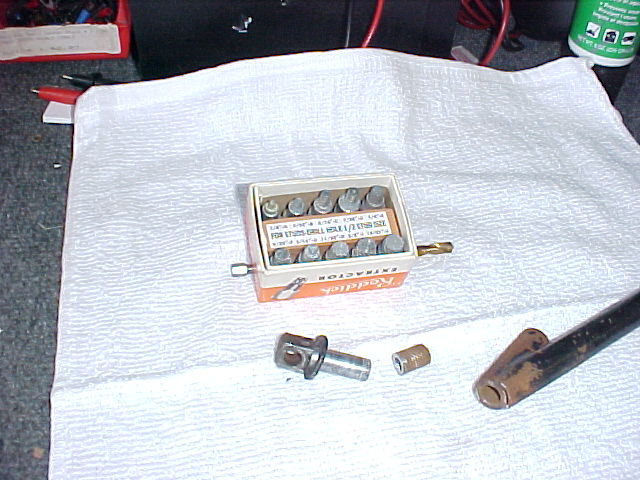
Drilled the broken stud in the left seatbelt brace and removed it with an extractor.
All of the photos I took today are here.
11/11/05
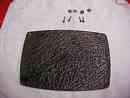 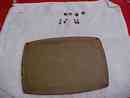 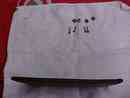
S1A - Took photos by request of the speaker blanking plate.
11/09/05
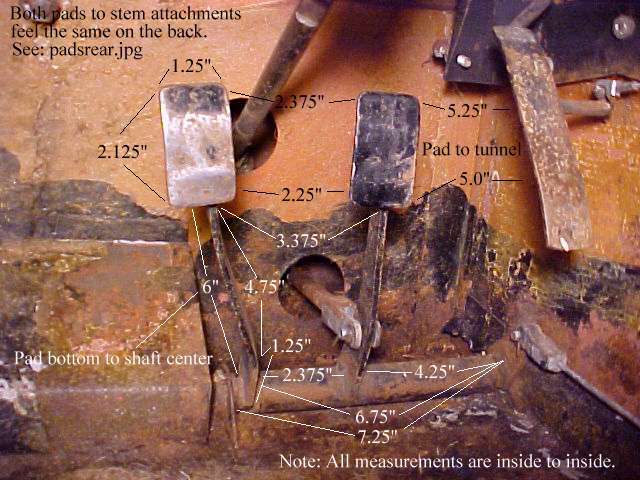
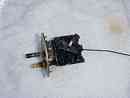
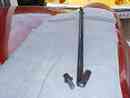
S1A - Took photos and measurements by request of the clutch and brake pedals today. Posted them here.
11/08/05
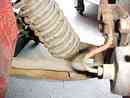
S1A - Took photos by request of the right front suspension today. Posted them here.
11/05/05
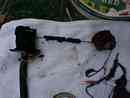 
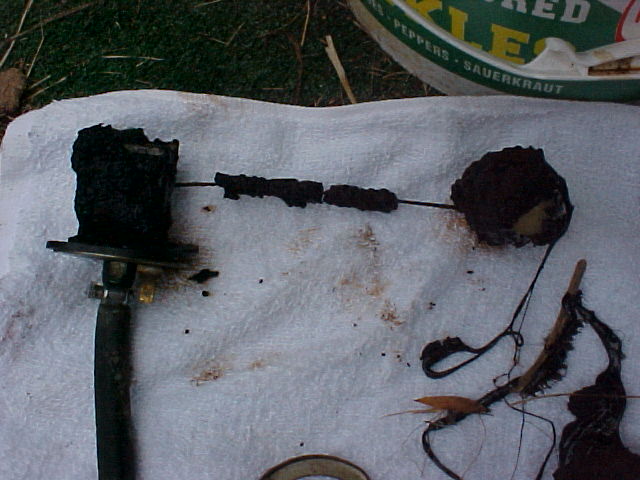
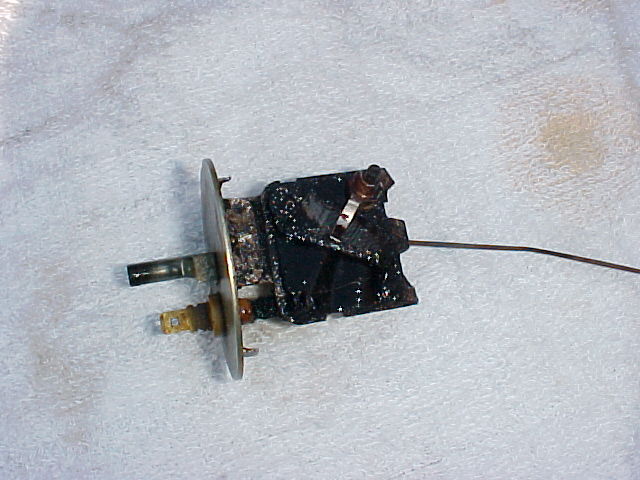
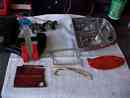
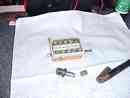
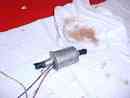
S1A - Removed the fuel level sender unit from the fuel tank and found that it is coated with a thick layer of black tar-looking substance. Must be congealed fuel from 20+ years of sitting. Cleaned and disassembled the sender and found the resistor inside coated with the same substance. Checked the resistance value and it's very intermittent. A check of the Knowledgebase shows that the resistance should be about 15 ohms full, 60 ohms 1/2 full and 250 ohms empty. Will determine what to do with the unit later.
Managed to break the bolt that secures the left seatbelt shoulder strap to the strap brace. I'll have to drill it out and tap it then fabricate a new bolt with the correct head to match the original. Had to remove the (PO installed) horsehair insulation support so I could move the insulation enough to remove the broken head.
Removed the speaker blanking plate and stored it for later restoration.
All of the photos I took today are here.
11/04/05
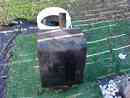  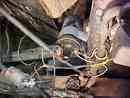  
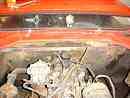
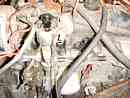
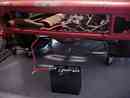
S1A - Got up early this morning and removed the gas tank. First I removed the right seat belt shoulder strap brace, coil and electric fuel pump to make room for the tank to come out. Then I removed the two nuts on the bottom of the fuel tank (under the car) and the filler neck. After wrestling with the tank for a while it finally came out (would have been easier if I had drained it first).
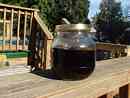 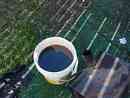
It's amazing what 20 years old fuel looks like! Sort of the color of very dark molasses and really nasty smelling. Doesn't smell like gas at all. I noticed that there are two pinholes in the side of the tank where there was gas seeping out. The tank is full of rust and will either need completely rebuilt or replaced.
Weighed the tank and it weighs 30 pounds instead of the 13.5 pounds of a known good tank. Further investigation revealed that the tank has a large mass of congealed fuel inside. Will contact a local fuel tank repair shop to see about cleaning and repairing the tank.
All of the photos I took today are here.
11/03/05
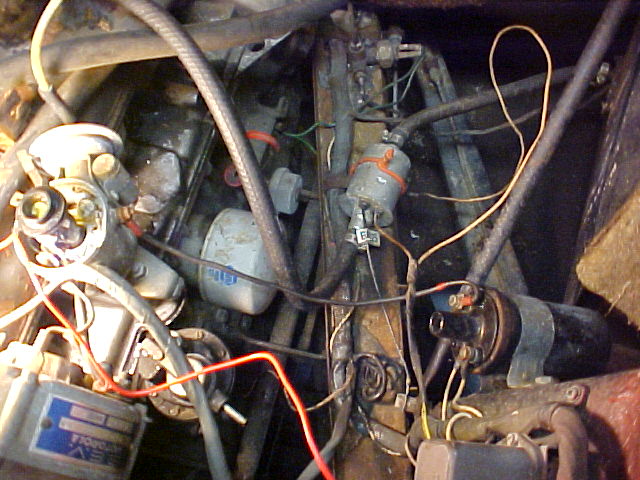
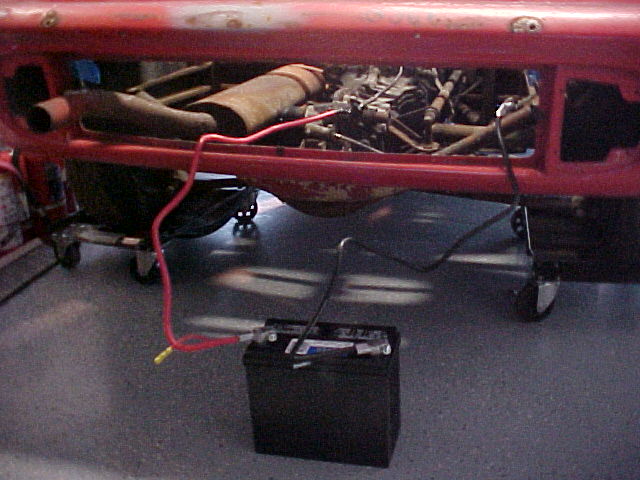
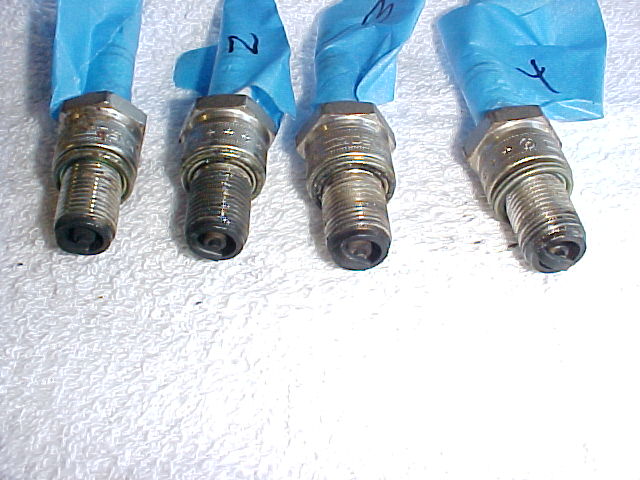
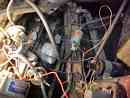
S1A - Today I bought a battery at Advance Auto Parts. I also bought two 36" battery cables and used them to extend the existing cables so I could put the battery on the garage floor. After I removed all of the spark plugs and the rotor cap with the cables attached (being sure to mark the cables) I connected some jumper wires to the starter solenoid and the battery connection on the starter so I could operate the starter from the engine compartment.
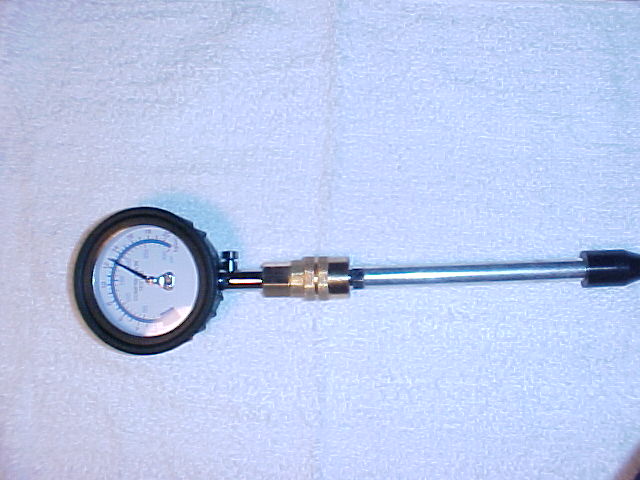
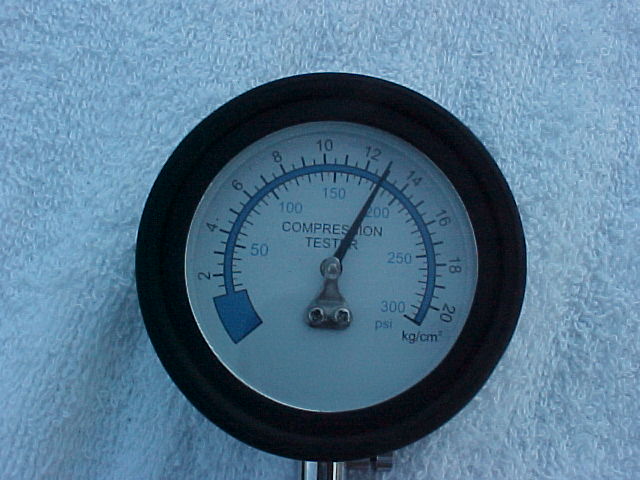
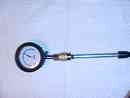
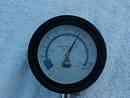
Using my compression tester, I checked the compression of each cylinder and obtained the following results:
Cylinder 1 - 170 PSI
Cylinder 2 - 185 PSI
Cylinder 3 - 175 PSI
Cylinder 4 - 170 PSI
I did not note any strange noises while I was cranking the engine.
The spark plugs have a lot of soot on them, which may indicate the car was running rich before it was put into storage in 1983.
I did not attempt to start the car as it is still in the garage and I don't want to risk a fire. One nice day I'll move it outside and see what happens.
All of the photos I took today are here.
|
|
|