|
|

 January 2006 Activity Log January 2006 Activity Log 
1/30/06
S2 - Finally got around to installing the new Blaupunkt 6x9 speaker in the passenger door and reassembling the inner panels. One of these days I may actually buy a radio for the car, but I needed something to cover the existing speaker holes.
Every time I go for a drive in the S2 I'm annoyed by a rattling emergency brake handle. Today I lubed the mechanism and tightened the bolt that supports it (after making a special 1/2" wrench to get to the nut inside the bracket) and it no longer rattles. In fact, the emergency brake actually works now!
1/21/06
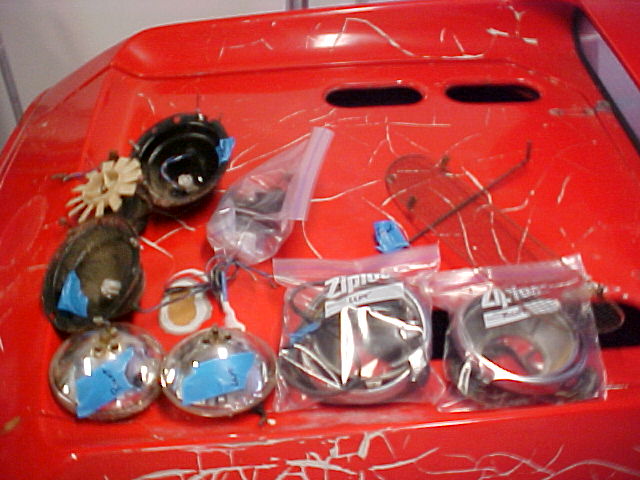
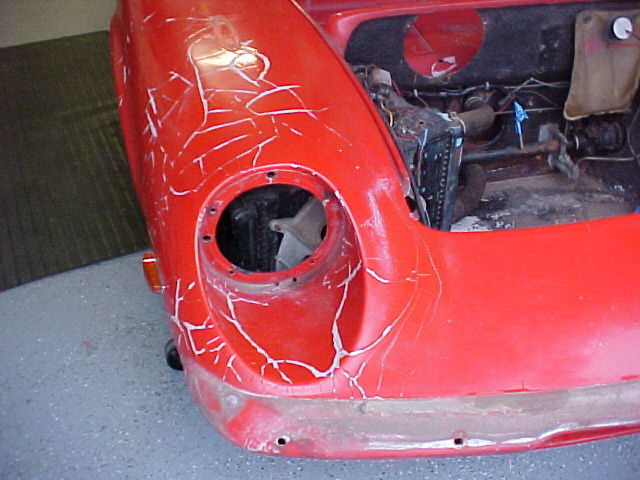
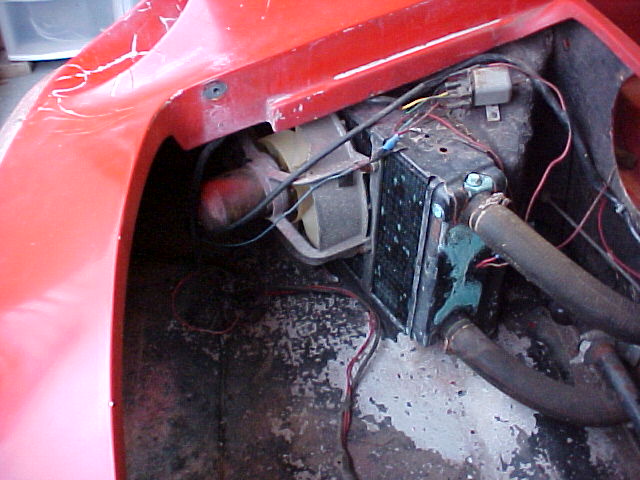
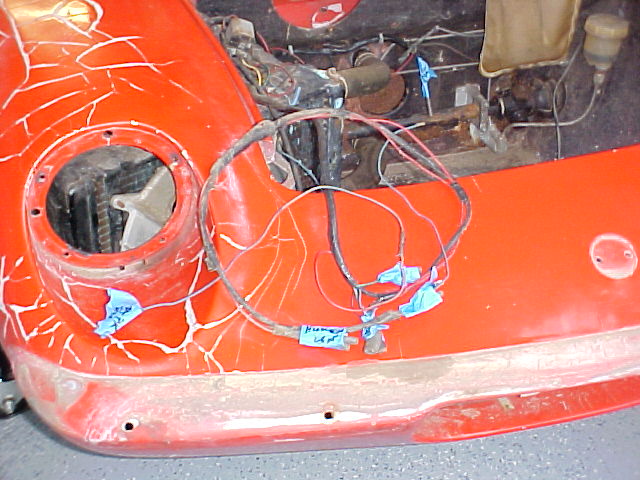
S1A - Removed the front bumper, headlights, side marker lights, plenum fan, horn, grill and boot lock. Marked all of the wires and made lots of notes so when it's time to put it back together I'll know what goes where.
Some of my notes:
- To allow best working space for each item reassemble in this order: bumper, side marker lights, radiator, headlights.
- Right headlight wiring:
- Blue/Red to Blue/Red double bullet connector in harness.
- Blue/White to Blue/White double bullet connector in harness.
- Black to Black bullet connector in harness.
- Left headlight wiring:
- Blue/Red to Blue/Red bullet connector in harness.
- Blue/White to Blue/White bullet connector in harness.
- Black to Black bullet connector in harness.
- Note: There is a blue wire that goes to the Left side marker tapped into the black headlight wire.
- Right side marker wiring:
- Green to Green/White bullet connector in harness.
- Black to Black bullet connector in harness.
- Red to Blue crimp connector in harness.
- Blue crimped to black wire on relay.
- Left side marker wiring:
- Green to Green/Red bullet connector in harness.
- Black to Red bullet connector in harness.
- Black to Blue wire crimped to black wire on left headlight.
- Blue to Blue crimp connector in harness.


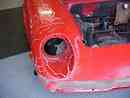
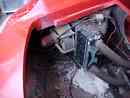
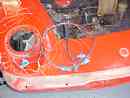
All of the photos I took today are here.
1/20/06
S2 - Very nice (almost 60 degrees) day today so I took the S2 for a drive. Spent a couple of hours just running around the area. Added some more octane boost to the gas as there is a slight ping at full throttle when the car is pulling hard. I need to check the timing one day as it's still set where the PO had it, and he was running half 93 octane and half racing gas.
Ran the passenger window up and down many times during the drive and it performed correctly. When the mood strikes me I'll reassemble the inner door.
1/12/06
S2 - Disassembled the passenger door, removed the power window motor, cleaned and lubed the motor and reassembled the door. Now the window works. Left the inner panel off for now until I can be sure it's fixed.
So nice outside that I took a "test drive" for about an hour. Got the Europa juices flowing again!
1/11/06
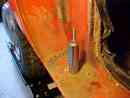
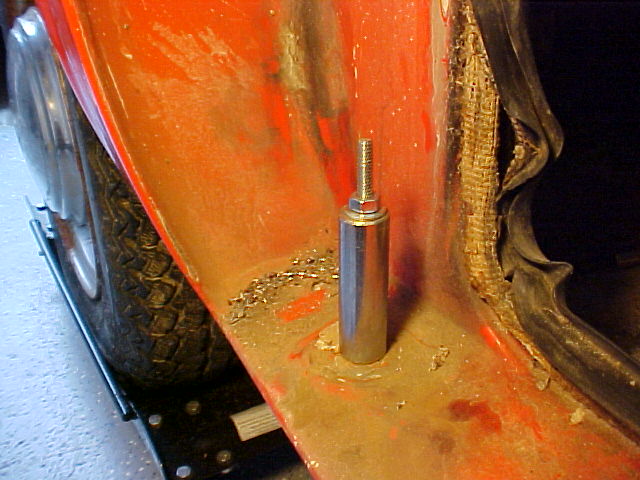
S1A - Today I removed and disassembled the drivers door. Like the passenger door, it was rusted in place so I used the Sawzall to cut the pins just like I did on 11/23/05. This time I used my floor jack and a roll of paper towels to support the door while I cut the hinges.
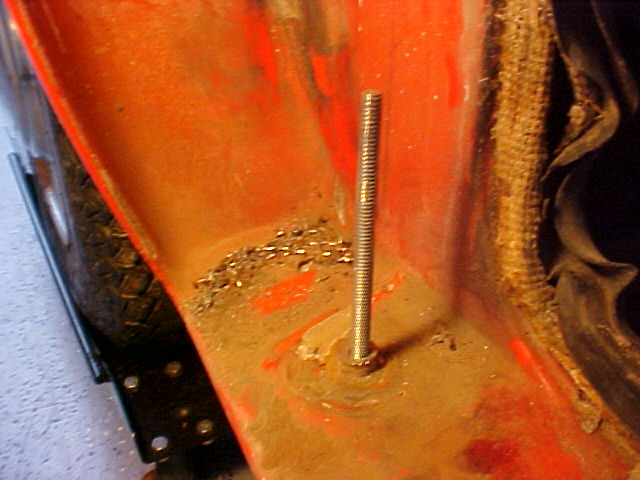
The top pin piece left in the bobbin after cutting was not rusted and came out easily but the bottom pin piece was rusted in place and would not budge, even with a hammer and drift. To remove the piece I drilled a hole throught the center, inserted a long 1/4"x24 bolt (whith a head small enough to pass through the bobbin) through from the bottom, slipped a socket over the protruding bolt, installed a washer and nut and tightened the nut until the piece came out. It was really very easy once I determined the best method to remove it.
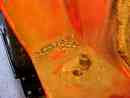
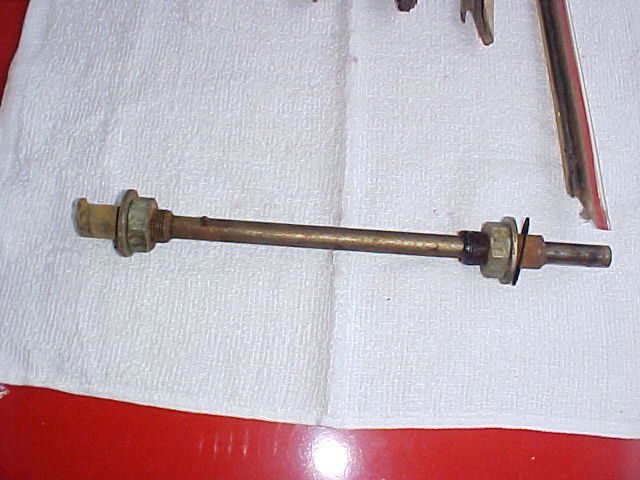
The nuts on the remaining pin through the door were frozen, so I used the sawzall to remove all metal protruding outside the door on both top and bottom, then drove the top hinge bushing down the pin far enough to slip the bottom bushing toward the rear of the door, then removed the whole mess from inside the door.
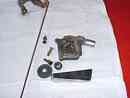
After removing all traces of the hinge, I proceeded to strip the door of the latch mechanism, mirror and the 1/4 window. All that's left is to refinish the door.

All of the photos I took today are here.
1/1/06
Happy New Year!
|
|
|


